How to Prep Your Home for a Smooth Interior Painting Project
Preparing your home before painters arrive is one of the most important steps you can take to ensure a smooth, stress-free project. When homeowners look for guidance on how to prepare your home for interior painting, they’re really hoping to avoid mess, prevent delays, and make sure their painters can focus on delivering a beautiful, long-lasting finish.
A well-prepped space not only protects your belongings but also allows your painting team to work efficiently and safely. With a few simple steps, you can set the stage for crisp lines, smooth walls, and a professional result that transforms your home. Whether you’re repainting a single room or refreshing your entire interior, the preparation phase is just as essential as the painting itself.
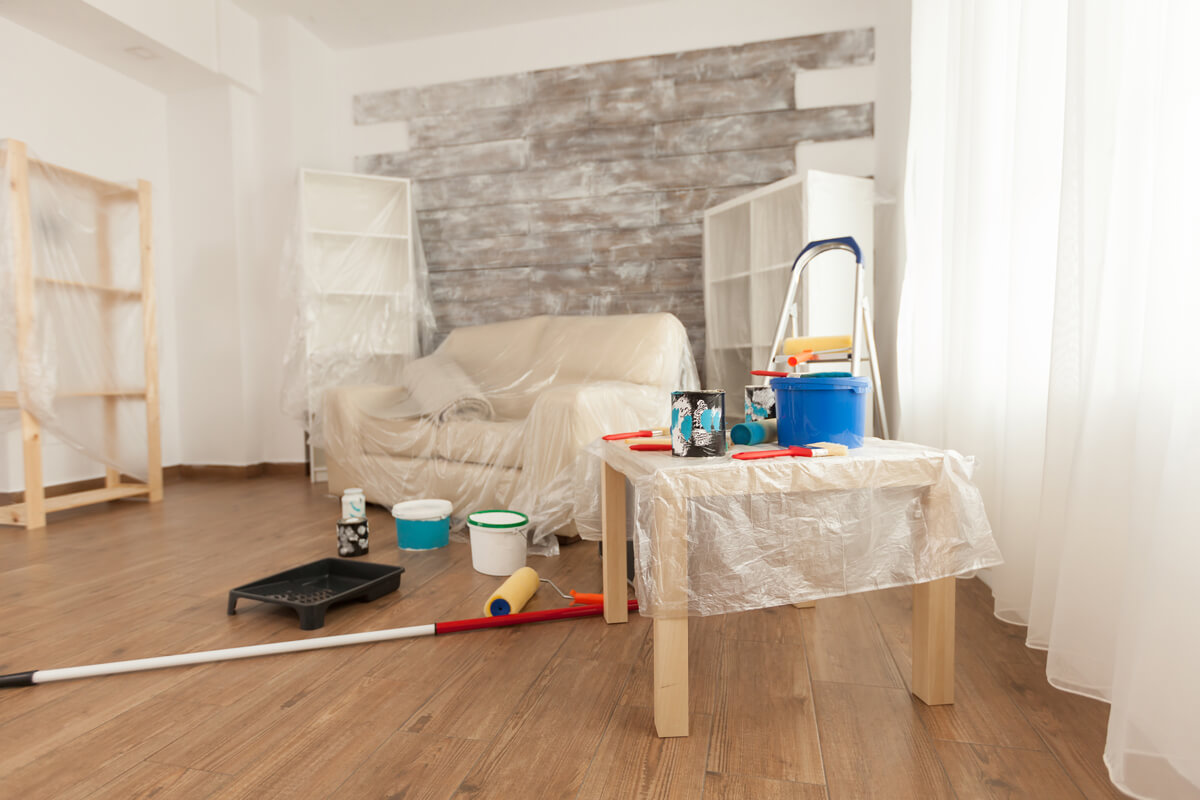
Clear the Space and Protect Your Furniture
Before any paint goes on the walls, you’ll want to create an open, accessible workspace. A clean, clutter-free room helps your painters move freely and reduces the chance of accidental damage.
Start by removing small décor items, lamps, wall art, rugs, and anything fragile. Larger furniture can often stay in the room, but it should be pushed toward the center to give your painters access to the walls and trim. Once everything is centralized, cover the items with plastic sheeting or canvas drop cloths to protect against dust or paint mist.
This step might feel simple, but it dramatically improves efficiency. When painters don’t have to navigate around furniture or move items themselves, they can get straight to what you hired them for—creating flawless results.
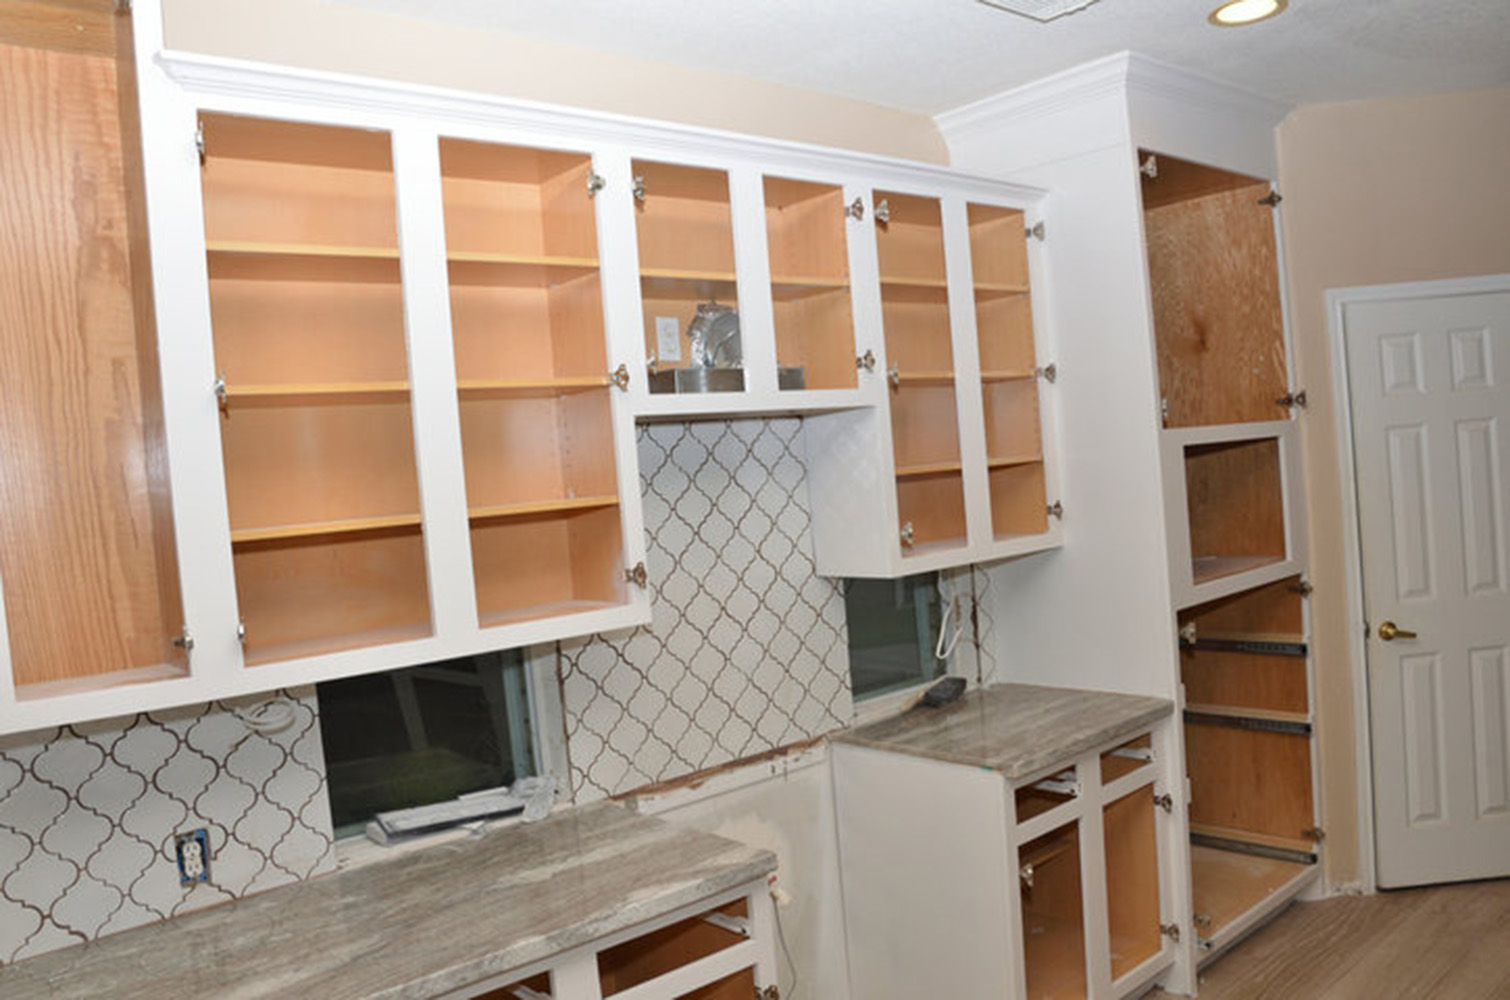
Clean and Repair Walls Before Painting
Clean, smooth walls make all the difference in how well paint adheres and how polished the final result looks. Even the best paint won’t hide dirt, dust, or texture inconsistencies, so take a few minutes to prep the surfaces yourself or let your painters know ahead of time about areas that need attention.
Start by lightly wiping down walls with a damp cloth to remove dust, residue, or oils left from hands or cooking. For high-touch areas—like around light switches and door frames—you may need a mild cleaner.
Next, inspect the walls for nail holes, small dents, or minor cracks. These should be patched with spackle, sanded smooth once dry, and wiped clean to remove dust. If your walls have significant damage, loose drywall tape, or moisture stains, mention this to your painting contractor during your estimate. Addressing these issues early ensures the finish looks clean and uniform rather than uneven or textured.
A bit of prep now prevents visible imperfections later—and helps painters deliver the smooth, uniform finish you expect.
Remove Fixtures, Outlet Covers, and Window Treatments
Small details can make a big difference in the quality of a paint job. That’s why it helps to remove or loosen fixtures that could get in the way.
Take off outlet covers, switch plates, curtain rods, blinds, and any wall-mounted items that sit close to the painting area. Removing these pieces helps painters cut clean, crisp edges and saves time taping around obstacles. If you’re not comfortable removing fixtures yourself, simply ask your painting team in advance—many are happy to help.
For ceiling fans, sconces, or pendant lights, turning off the power at the switch and removing any shades or glass components helps keep them safe. Even if your painters use drop cloths and tape, giving them easier access to trim, corners, and edges helps ensure a smooth, professional-looking result.
Store all removed hardware together in a labeled bag so reinstalling everything after the project is quick and hassle-free.
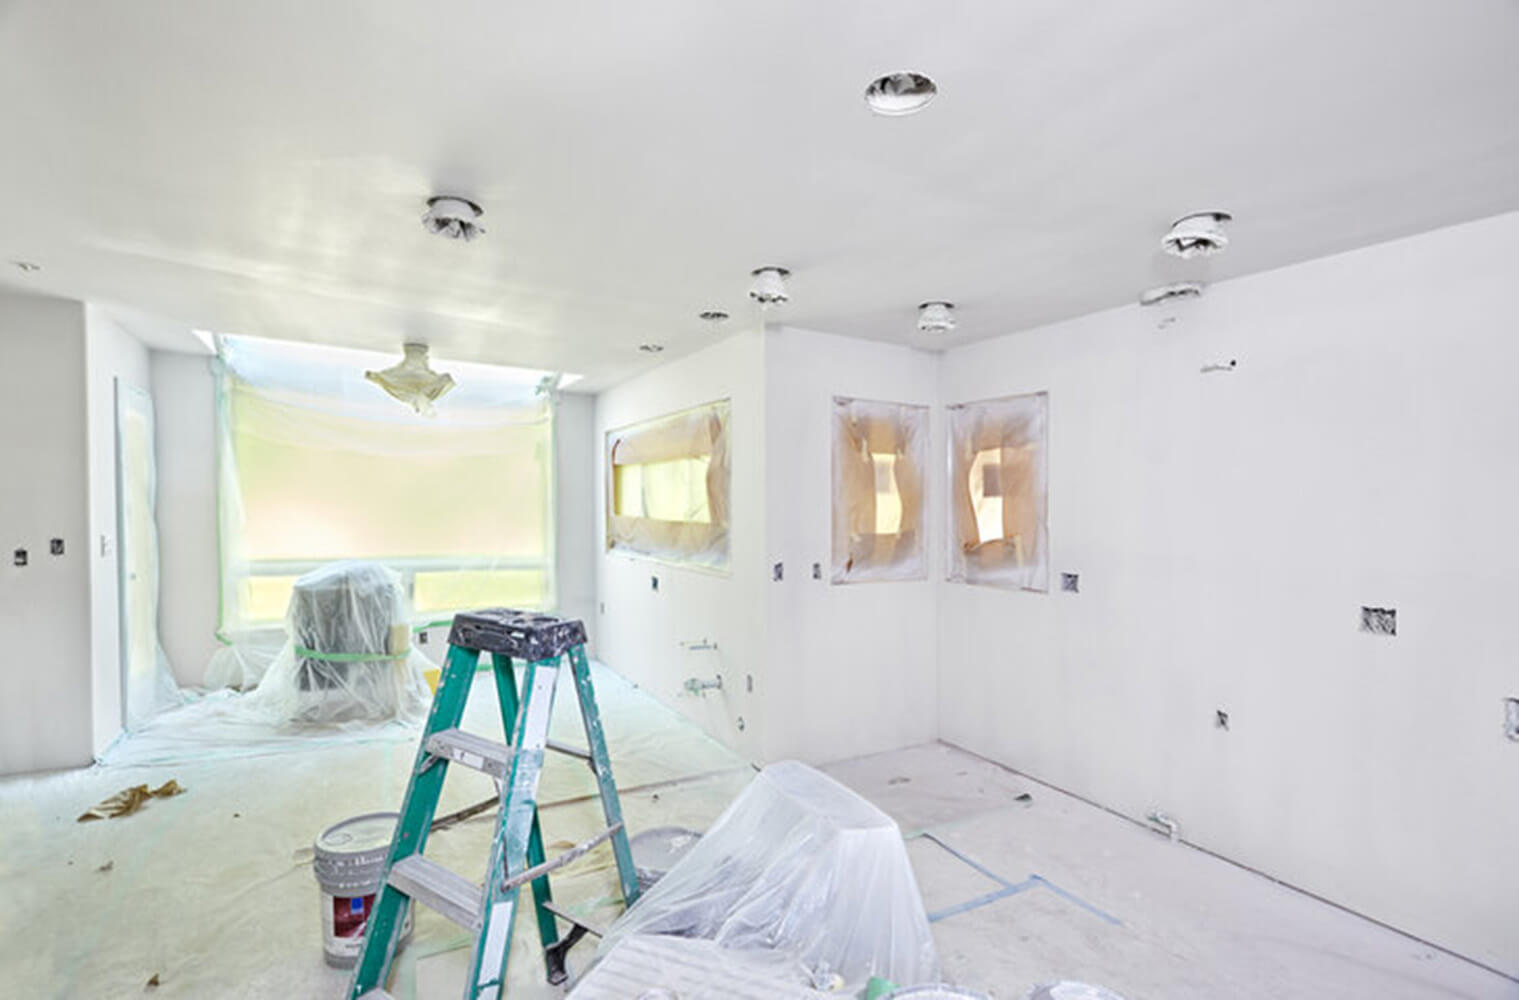
Protect Floors, Trim, and High-Touch Areas
Flooring and trim can easily be affected during an interior paint project, so ensuring they’re protected in advance saves time and stress later.
Use rosin paper, canvas drop cloths, or plastic sheeting to cover hardwood floors, tile, or carpet. While professional painters always bring their own floor protection, having a layer down ahead of time adds extra peace of mind—especially for valuable or delicate flooring.
For baseboards, door frames, windowsills, and stair rails, high-quality painter’s tape helps create clean lines while preventing paint from landing where it shouldn’t. Proper taping also helps painters work more efficiently because they can focus on application rather than delicate edge control.
If you have recently refinished floors, notify your painter so they can adjust materials accordingly. Some floor types require breathable coverings to avoid trapping moisture, which ensures the protection doesn’t cause damage of its own.
Taking a few minutes to secure your floors and trim now guarantees a cleaner, more professional result when the project is complete.
Create a Safe, Accessible Work Area
To make your painting project as efficient as possible, create a work environment that’s easy for painters to navigate.
Start by ensuring good ventilation. Open windows when possible or turn on fans to promote airflow. Although modern low-VOC paints have minimal odors, proper ventilation helps paint cure faster and keeps the space comfortable for workers.
Clear walking paths throughout the home so painters can bring in ladders, supplies, or drop cloths without bumping into furniture or décor. If you have small children or curious pets, consider setting up a temporary barrier or designating a “blocked off” area during the project. This ensures everyone stays safe and the painters can work without interruptions.
Lighting also plays an important role. Good lighting helps painters see imperfections and produce cleaner lines. If a room is dim, turning on additional lights—or temporarily adding a lamp—can improve visibility and the final outcome.
These simple adjustments help create a safe, efficient, and well-organized work environment, which ultimately leads to a smoother painting process and a higher-quality finish.
Conclusion: Final Checks for a Smooth Interior Painting Project
Preparing your home for painting doesn’t have to be complicated. By clearing the space, protecting furniture, cleaning walls, removing fixtures, and creating an accessible work area, you set your painters up for success—and ensure your home gets the crisp, polished finish you envision.
Following these steps makes the entire experience faster, cleaner, and more efficient. And when the prep is done right, the results look better, last longer, and feel more professional.
If you’re ready to refresh your interior or want expert guidance on your next project, feel free to explore our interior painting services or contact our team for friendly, helpful support.