Cabinet Painting Timeline: How Long the Process Usually Takes
Before most homeowners book a cabinet painting project, they want to know one thing: how long will they be without a functioning kitchen?
It’s a fair question, and it has a practical answer. But the cabinet painting timeline isn’t a single number that applies to every project. It’s the result of several distinct stages, each with its own variables that affect how long that phase takes in a specific kitchen.
The good news is that professional cabinet painting follows a predictable sequence. Prep work, priming and painting, and reassembly happen in the same order on virtually every project. What changes is how long each stage takes based on the size of the kitchen, the condition of the surfaces, and how the work is structured. For homeowners still deciding whether cabinet painting is worth it, understanding the timeline is a key part of that decision.
Understanding what happens at each stage, and what drives the timeline in each one, makes it easier to plan around the project and know what to expect before the first day of work begins. This post walks through the full sequence with realistic time estimates at every stage.
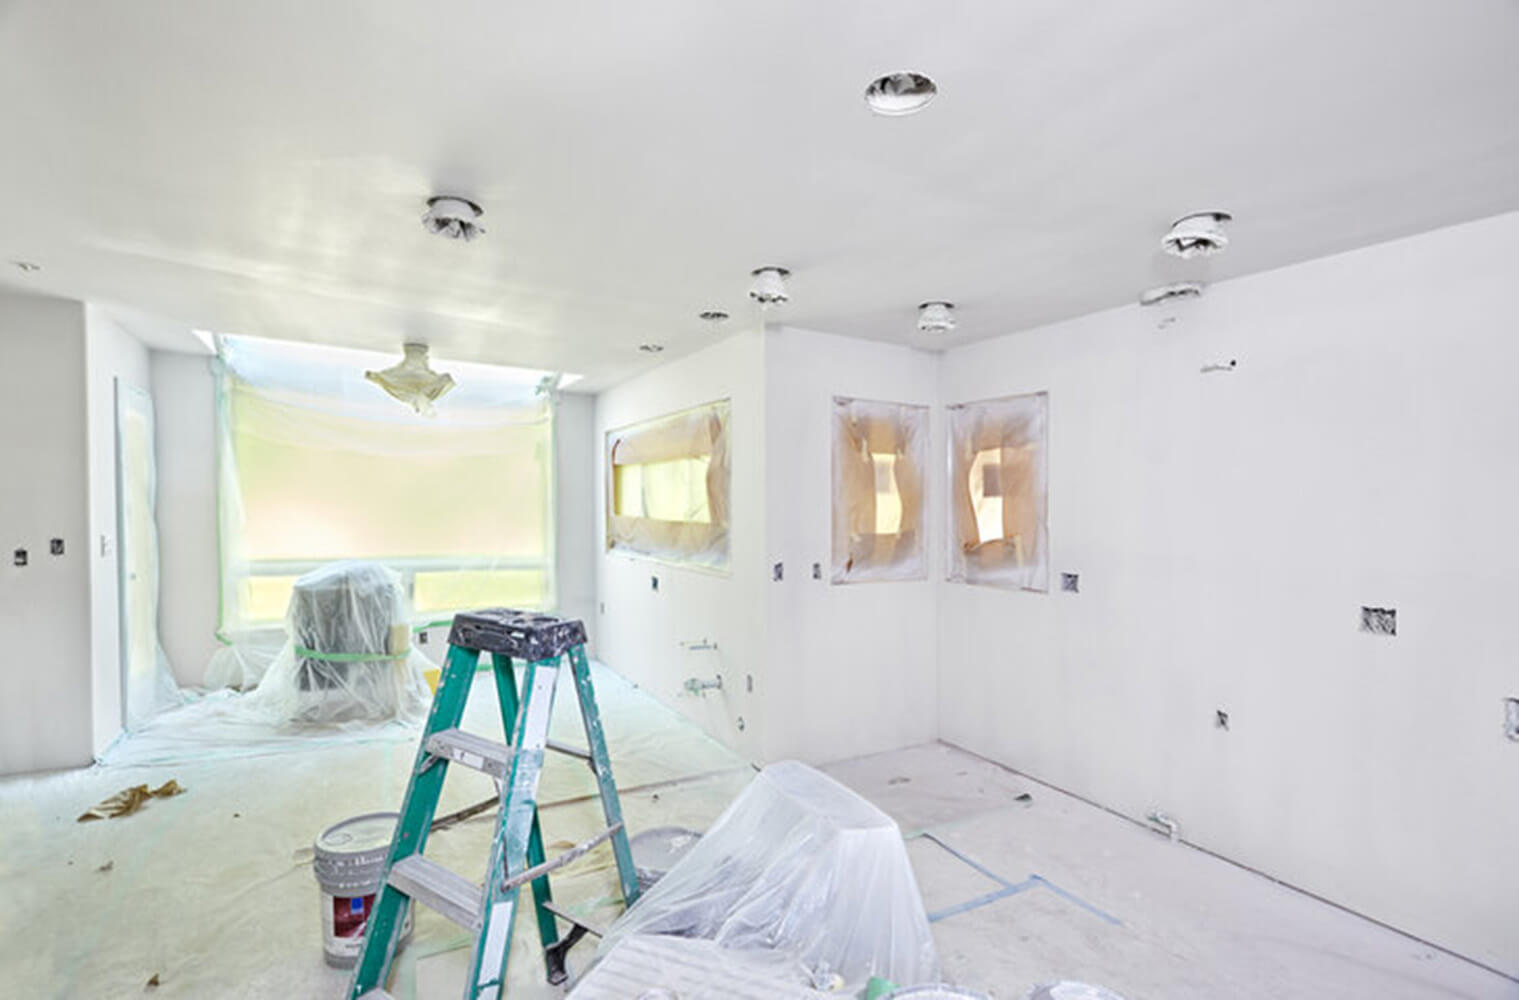
Prep Work: What Happens Before Any Paint Is Applied
Prep work is the foundation of a cabinet painting project. It takes the most time of any stage and has the biggest effect on how the finished product holds up.
The process covers several distinct steps:
- Removing cabinet doors, drawer fronts, and all hardware
- Cleaning every surface to remove grease, residue, and buildup
- Sanding to create a surface the primer and paint can grip
- Filling holes, dents, and imperfections and allowing filler to cure
- Masking and protecting countertops, walls, and appliances
Surface condition is a major factor. Cabinets with heavy buildup, previous failing paint, or surface damage require more cleaning, more sanding, and more repair work before the surface is ready. A well-maintained kitchen moves through prep faster than one with years of residue or a paint job that didn’t hold. For kitchens with significant damage, the painting versus replacement question is worth addressing before scheduling any work.
Kitchen size matters equally. A kitchen with twelve doors moves through removal, cleaning, and sanding faster than one with twenty-four. That difference compounds across every step in this stage.
One additional variable is whether the painter works on-site or takes doors to a shop. Shop work often produces a cleaner finish and can run on a parallel track with on-site prep, but the logistics of transporting and tracking doors adds coordination time that purely on-site work doesn’t require.
For most kitchens, prep runs one to two days. Larger kitchens, heavily soiled surfaces, or significant repair work can push that further.
Priming, Painting, and Drying
Once prep is complete, the surface is ready for primer and paint. This stage moves in a clear sequence, but dry time between coats is what drives the overall duration more than the painting itself.
Primer goes on first. It seals the surface, blocks stains, and gives the finish coats something to bond to. After primer, most professional projects involve at least two finish coats to achieve consistent coverage and a durable result. Each coat needs adequate dry time before the next one goes on. Rushing that window causes adhesion problems, uneven texture, and finish failures that show up weeks later.
Dry time varies based on the product being used, the humidity in the space, and the ambient temperature. Cooler or more humid conditions extend it. A climate-controlled shop environment gives painters more predictability over this variable, which is one reason shop work can produce more consistent results.
Painting method also affects both quality and duration. Spray application produces a smoother, more factory-like finish but requires significant setup, masking, and ventilation before a single coat goes on. Brush and roller application takes less setup but demands more skill to achieve a clean result without visible brush marks or texture variation. Neither method is universally better — the right choice depends on the painter’s process and the finish the homeowner is expecting.
One distinction worth understanding before reassembly begins is the difference between dry to touch and fully cured. Cabinets can typically be rehung before they reach full cure, but the finish is still hardening and should be handled with care. Full cure can take several weeks depending on the product used.
For most kitchens, priming, painting, and required dry time between coats runs two to three days.
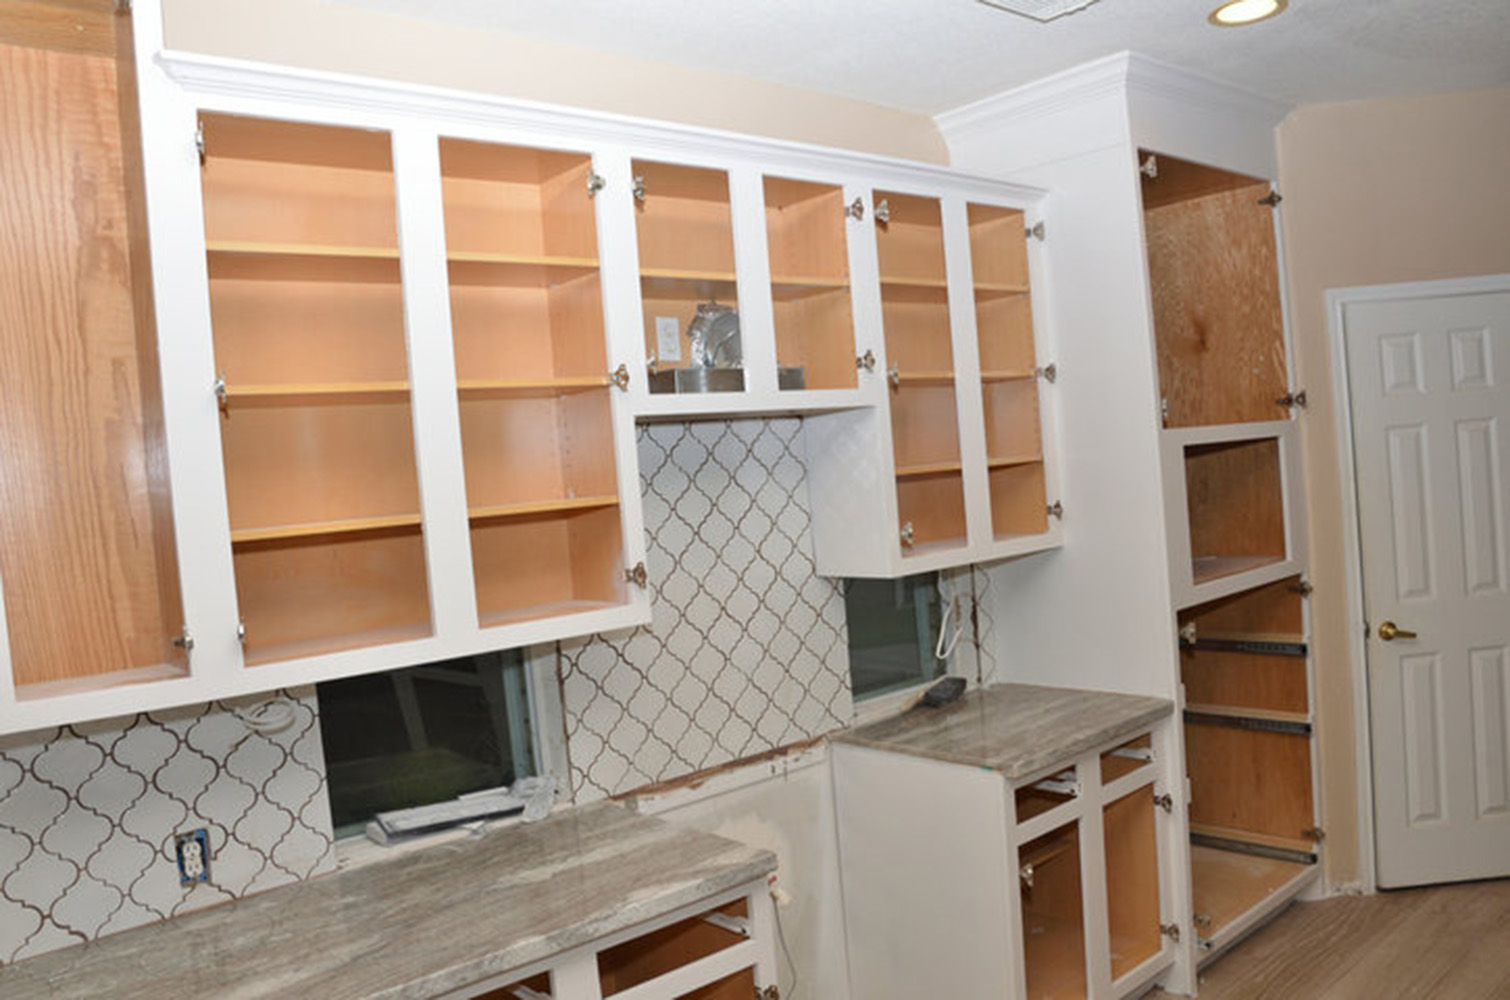
Reassembly and the Final Walkthrough
Reassembly is the last active stage of the project. It moves faster than prep and painting, but it still requires care and attention to detail.
Doors and drawer fronts are rehung and hardware is reinstalled. The painter checks alignment across every door, looks for finish consistency across the full set of cabinets, and identifies any areas that need touch-up before the job is considered complete.
Touch-ups are a normal part of this stage, not a sign that something went wrong. Small imperfections that aren’t visible during painting become apparent once doors are back on and the kitchen is seen as a whole. A drip that blended into a flat surface, a thin spot near a corner, or a slight variation in sheen across two adjacent doors are the kinds of things that get caught and corrected here. Addressing them before the crew leaves is part of delivering a finished result rather than leaving the homeowner to notice them later.
The homeowner walkthrough happens at the end of this stage. It’s the opportunity to review the completed work with fresh eyes and flag anything before the painter packs up. Walking through the kitchen systematically, opening and closing every door and drawer, and checking the finish in different lighting conditions gives a complete picture of the result. Most issues, if any exist, are minor and resolved on the spot.
Kitchen size is a factor here as well. A larger kitchen with more doors takes longer to rehang, align, and inspect than a smaller one.
Reassembly and the final walkthrough typically take half a day to a full day depending on kitchen size and the number of touch-ups needed.
Putting It All Together: What the Full Timeline Usually Looks Like
Most professional cabinet painting projects run four to six days from start to finish. That range accounts for the full sequence: prep, priming and painting with dry time between coats, and reassembly.
Breaking it down by stage:
- Prep work: 1 to 2 days for most kitchens
- Priming, painting, and dry time between coats: 2 to 3 days
- Reassembly and final walkthrough: half a day to a full day
A few factors push a project beyond that range. Larger kitchens have more surface area and more doors at every stage. Significant surface prep adds time before primer ever goes on. Shop workflow logistics, while often producing a better finish, introduce coordination time that on-site work doesn’t require. Custom finishes or specialty coatings may require additional coats and extended dry time.
The kitchen is partially accessible during the process. Cabinet boxes remain in place throughout, and the space is usable to a degree even while work is ongoing. Full functional use resumes after reassembly is complete.
The four to six day estimate covers most projects, but it’s a starting point rather than a guarantee. The most reliable way to get a timeline specific to a project is an in-person estimate, where a painter can assess surface condition, kitchen size, and scope before any commitments are made.
If you’re planning a cabinet painting project and want a clear picture of what your timeline looks like, Texas Star Painting of Austin offers in-home consultations to walk through exactly what your kitchen involves. We’re happy to assess the space, answer your questions, and give you a realistic schedule before any work begins. Reach out today to set up a consultation.